
How to prepare artwork for fabric printing: 20 mm bleed, safe zone, at least 100 dpi at 1:1, CMYK and PDF/X-4 – with a checklist for light walls.
In short
Set up artwork for fabric printing at final size plus 20 mm bleed all round – for a 300 × 248 cm wall that means 304 × 252 cm – keep text and logos within the safe zone and work with at least 100 dpi at final size. The safest choice is a PDF/X-4 in CMYK; we accept PDF, AI, EPS, TIFF, JPG and PNG up to 2 GB per file, and the shop checks the file as soon as you upload it.
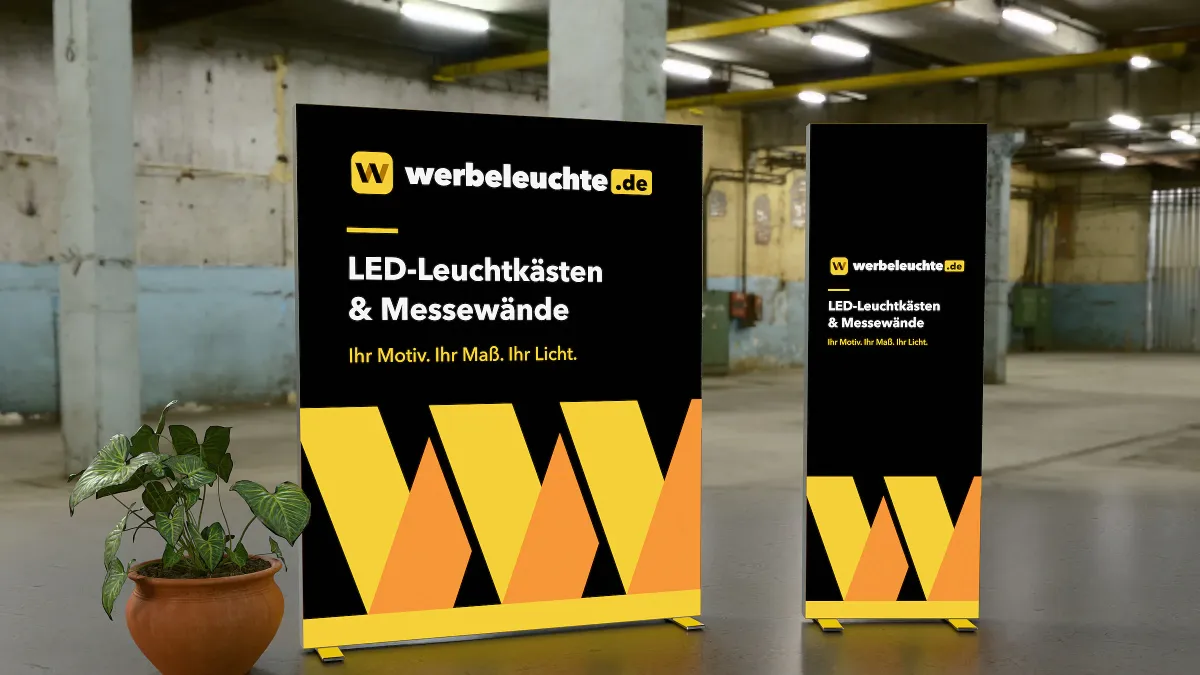
A fabric print for a light wall or exhibition wall is quickly ordered – and just as quickly spoiled if the artwork files are not right. Missing bleed, a logo too close to the edge or a photo with too little resolution are immediately noticeable on a three-metre-wide backlit surface. This guide shows you step by step how to prepare artwork for fabric printing correctly: format, bleed, safe zone, resolution, colour mode and file format. At the end there is a checklist you can use to check your file before uploading.
Why fabric printing has its own rules
With our systems, the fabric is not simply hung up but pressed into the groove of the profile frame with a silicone edge (SEG keder) running around the back. This keeps the graphic taut and wrinkle-free – but a narrow strip at the edge disappears into the groove and behind the profile. That is exactly what bleed and the safe zone are for.
With light walls, there is also the light to consider: a backlit fabric shows blur, edges and colour banding more clearly than a poster. What looks fine on screen still has to work on the large, illuminated surface. Our guide Backlit vs. blockout: which fabric for which light wall? explains which fabric suits which purpose.
Step 1: Download the right artwork template
Never start with a blank document "by feel". For every system and every size there is an artwork template with final size, bleed and safe zone – directly on the respective product page or collected under Artwork templates. For the Made-to-Measure LED Lightbox, the template is generated to match your chosen size, for any size between 30 and 300 cm.
The template is colour-coded:
- Yellow: bleed – this area is printed but will not be visible later.
- Black line: final size – the visible area of your wall.
- Orange dashed line: safe zone – all important content belongs inside this line.
Place your design as a separate layer over the template and hide the template layer before exporting.
Step 2: Set up final size and bleed
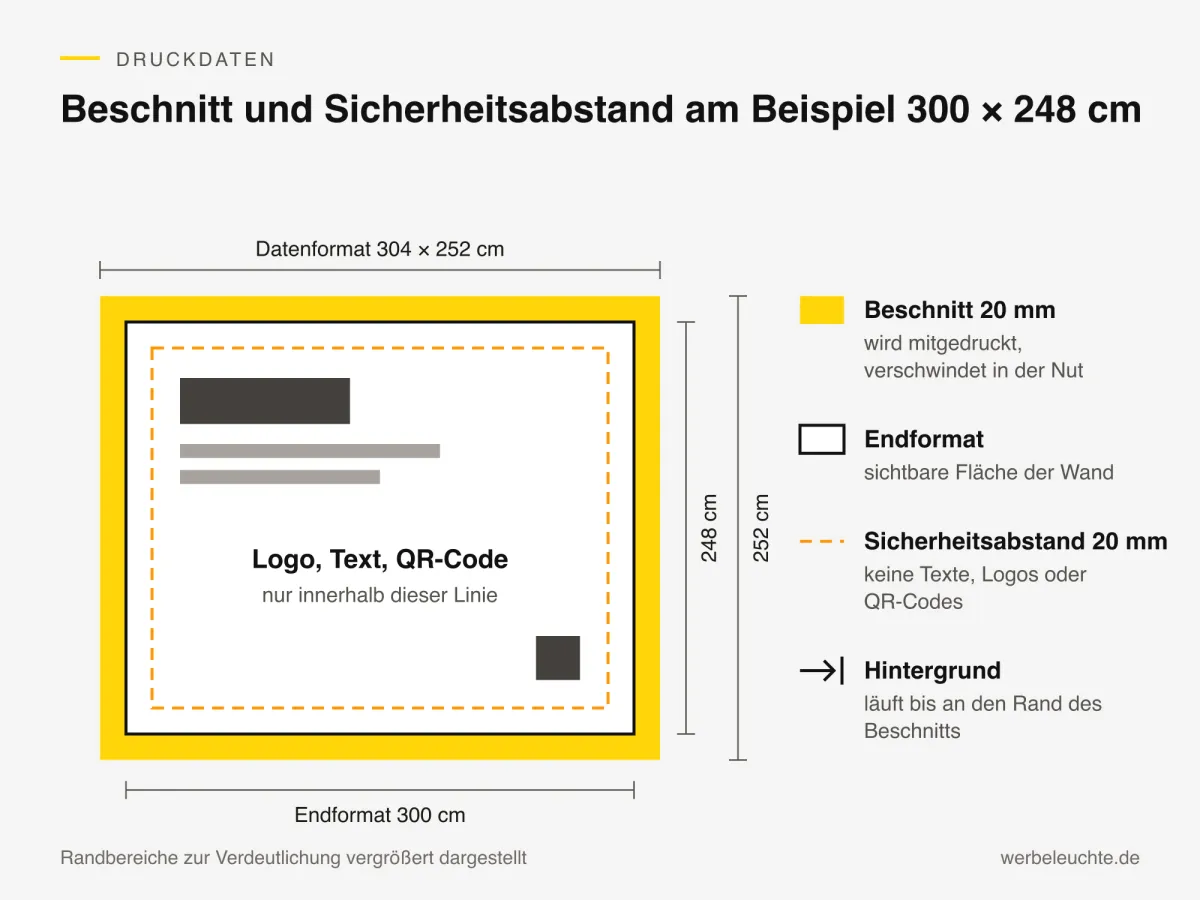
The final size corresponds to the visible print area, for example 300 × 248 cm for an LED Exhibition Wall XL in this size or 100 × 200 cm for a Portable LED Light Wall Classic.
On our systems, the bleed is 20 mm all round. The document size is therefore 2 cm larger than the final size on each side:
| Final size (W × H) | Document size incl. 20 mm bleed | Visible area |
|---|---|---|
| 85 × 200 cm | 89 × 204 cm | 1.70 m² |
| 100 × 200 cm | 104 × 204 cm | 2.00 m² |
| 200 × 248 cm | 204 × 252 cm | 4.96 m² |
| 300 × 248 cm | 304 × 252 cm | 7.44 m² |
| 500 × 248 cm | 504 × 252 cm | 12.40 m² |
Important: the background – colour area, photo, gradient – must run right to the edge of the bleed. If the image ends exactly at the final size, a white flash appears at the edge when the fabric is inserted into the groove. Our automatic check therefore displays a notice if a file corresponds exactly to the final size without bleed.
Step 3: Keep to the safe zone
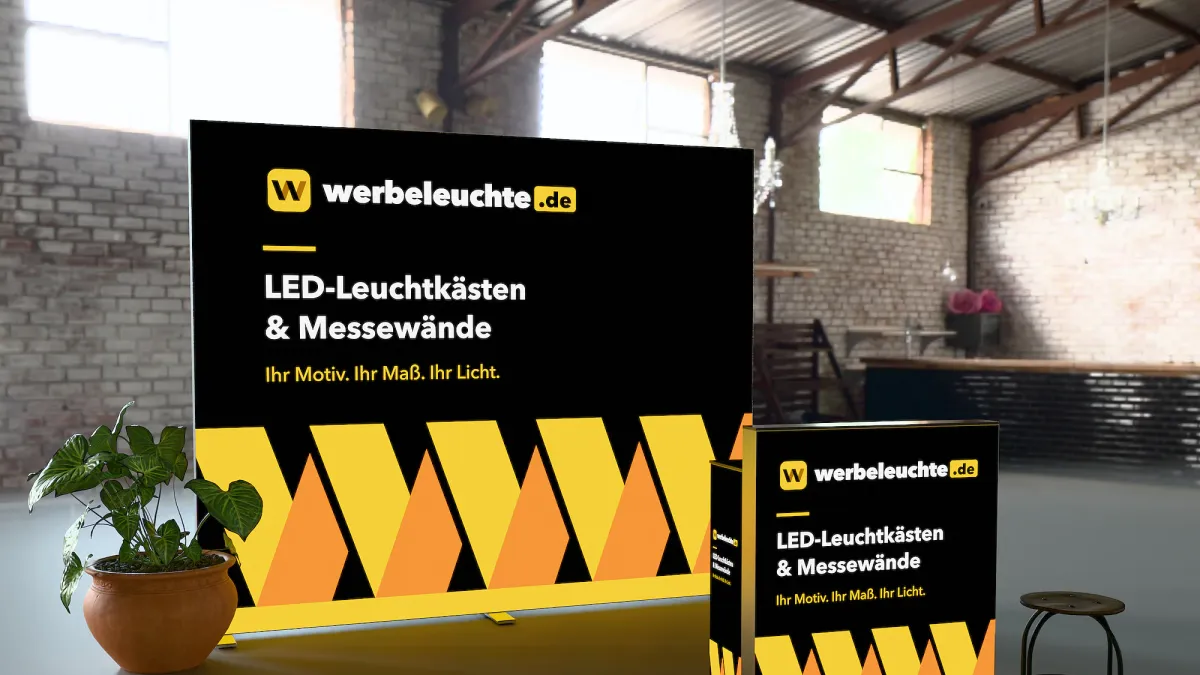
In addition to the bleed, there is a safe zone of 20 mm inwards, measured from the final size. No text, logos, phone numbers or QR codes belong in this edge area. It sits right next to the profile and can easily be partly covered due to tolerances when the fabric is inserted.
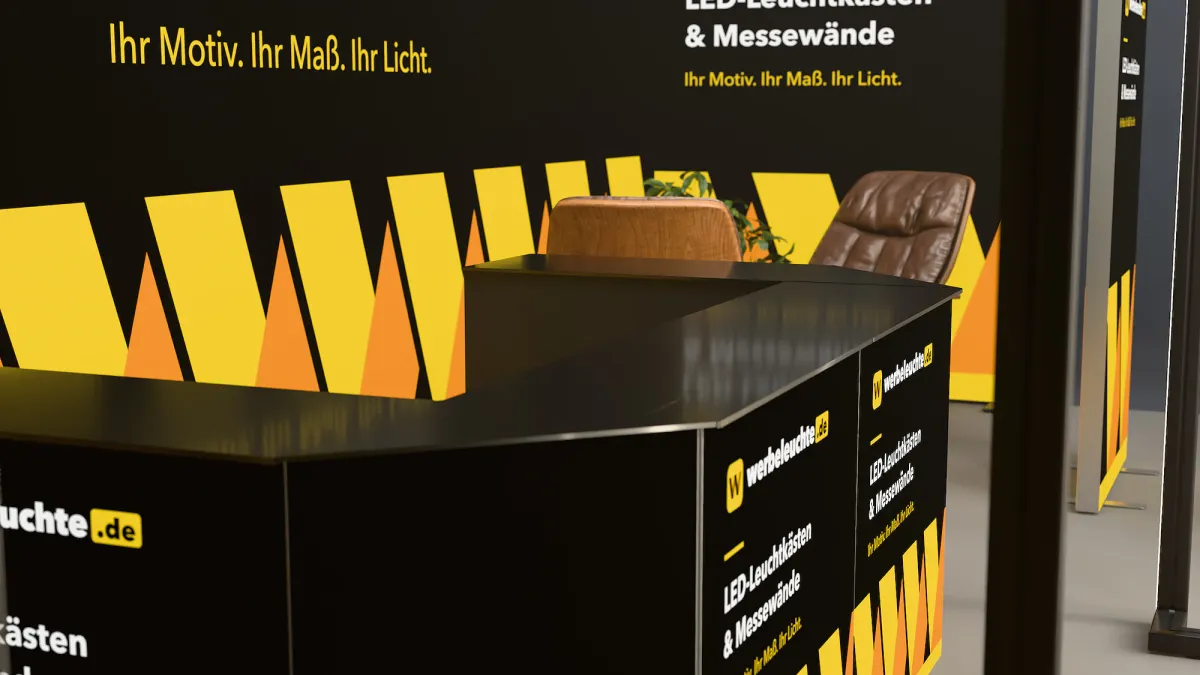
For impact at the trade show, more space is worthwhile anyway: logo and key message belong in the upper third of the wall so that they remain visible above visitors' heads. In the lower area – roughly up to counter height – important content is often hidden by the counter, poseur table or people. You will find more design ideas in our guide Exhibition stand ideas: 25 examples for small and large stands.
Step 4: Choose a scale
Large formats are difficult to edit at full size, so you may set them up at a reduced scale. Our check accepts the usual scales 1:1, 1:2, 1:4 and 1:10. The templates themselves are set up at a scale of 1:10 – a wall measuring 300 × 248 cm is then edited as a document of 30.4 × 25.2 cm including bleed.
Make sure the aspect ratio is exactly right. A minimal deviation (up to about 2 %) is not a problem. With larger deviations, the design is adjusted during printing and edges may be cut off; from around 6 %, the file no longer fits the format and must be corrected.
Step 5: Calculate the resolution correctly
For fabric printing we recommend at least 100 dpi at final size (1:1). That sounds low compared with the 300 dpi used in offset printing – but an exhibition wall is viewed from several metres away, not from 30 centimetres.
What matters is the resolution in relation to the final size:
- If set up at a scale of 1:1, images need 100 dpi.
- If set up at a scale of 1:10, they need ten times that in the document, i.e. 1,000 dpi.
A worked example: for the document size of 304 × 252 cm for a 3 m wall, 100 dpi results in an image of around 11,970 × 9,920 pixels. A typical smartphone photo is not enough for this, but a high-quality stock photo or a vector graphic is.
This is how our automatic check rates your file when you upload it:
| Resolution at final size | Rating |
|---|---|
| from 100 dpi | good – green light |
| 50 to under 100 dpi | usually sufficient from a normal viewing distance – amber light |
| below 50 dpi | visibly blurred – red light |
Vector graphics such as logos, fonts and shapes are resolution-independent and stay sharp at any size. So, wherever possible, create logos as vectors (PDF, AI, EPS) rather than as placed pixel images. We additionally check images embedded in PDFs before printing.
Step 6: Colour mode and colour profile
CMYK instead of RGB
Printing is done in CMYK. Ideally, create your files directly in CMYK and export them as PDF/X-4 – this format cleanly embeds the colour profile, fonts and images.
If you supply RGB files, such as a photo straight from the camera, we convert them to CMYK for printing. In most cases this works well. However, very vivid screen colours – bright green, neon pink, rich light blue – lie outside what can be reproduced in print and may differ slightly.
Corporate colours and spot colours
If your brand uses fixed spot colours, specify the CMYK values from your corporate design manual in the document. If a particular colour is especially important, please contact us before ordering.
What is special about backlit prints
On a light wall, light passes through the fabric. Light colours look radiant as a result, while dark areas look different than on screen. Large, very dark backgrounds look less "luminous" on a light system – for maximum impact, strong, high-contrast designs with enough light areas are ideal.
Step 7: Fonts, lines and crop marks
- Convert fonts to outlines (or embed them fully) so that no substitute font appears in print.
- No crop marks, registration marks or colour bars in the file – the bleed is enough.
- Avoid fine lines and small type: What is legible at 1:10 must also remain legible from a distance. For long-distance impact: little text, large type, strong contrast.
- Hide the template layer before you export – otherwise guide lines will be printed too.
Step 8: File format and upload
We accept PDF, AI, EPS, TIFF, JPG and PNG. The safest option is a PDF/X-4. A file may be up to 2 GB in size, and up to eight files are possible per order item.
For systems with several print areas – such as front and back or the four sides of an LED Light Tower – it is best to upload one file per side. A multi-page PDF also works; in that case, state which page goes where.
You decide when you supply the files when you order: upload now – directly in the order form – or send later via a personal upload link that you receive by email after ordering. If you have no artwork yet, choose the design service instead.
When you upload, the shop automatically checks each file for file format, aspect ratio, scale and resolution and shows the result as a traffic light. Amber notices are not a stop but a warning; you should correct red notices before ordering. Files that cannot be read automatically are checked manually before printing.
How much does fabric printing cost?
With our systems, printing your artwork is always included: it costs €40 net per square metre and printed side (€47.60 incl. VAT) and is already included in the system price shown – every system is delivered ready printed. The visible area is charged:
| Surface | Print net | Print incl. VAT |
|---|---|---|
| 100 × 200 cm (2.00 m²) | €80.00 | €95.20 |
| 300 × 248 cm (7.44 m²) | €297.60 | €354.14 |
| 500 × 248 cm (12.40 m²) | €496.00 | €590.24 |
If you do not have print-ready artwork, our design service takes care of it as an optional extra for €300 net (€357.00 incl. VAT) for the first system; each further system in the same order with the same design costs just €90 net (€107.10 incl. VAT), and complete exhibition stands start at €350 net – you supply the logo, images and text, and we create artwork files to suit the format.
Checklist: check your artwork files before uploading
- Correct artwork template used for system and size
- Document size = final size + 20 mm bleed all round
- Background runs to the edge of the bleed
- Text, logos and QR codes at least 20 mm inside the final size
- Important content placed above counter or head height
- Scale 1:1, 1:2, 1:4 or 1:10 – exact aspect ratio
- Images at least 100 dpi at final size (i.e. 1,000 dpi in the document at 1:10)
- Logos and fonts as vectors, fonts converted to outlines
- CMYK, export as PDF/X-4
- No crop marks, template layer hidden
- A separate file for each printed side, or clearly labelled